Looking for Server Management Specialists?

Our Linux/Server Management services include 24×7 Remote Technical Support, Server Administration, Server Management, Server hardening, 3rd party software installations, 24×7 Server Monitoring, Server migrations, Backup configurations and more.

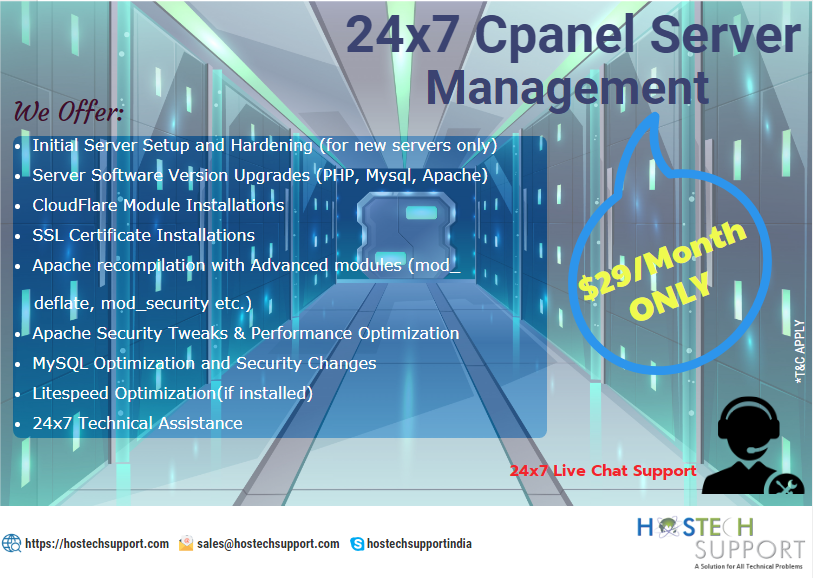
We keep a consistent watch on server speed, security, and uptime. We screen and deal with your servers in order to guarantee high uptime, security, and speed. Our specialists ensure that your server doesn’t experience an unscheduled vacation, and if there should be an occurrence of disappointments, reestablish benefits inside minutes. The custom Linux server management plan includes your server for high performance that can handle multiple users at a time. Our server setup will have only the required services that are needed for a web application to run and it will be optimized maximum according to the server specifications. You don’t need to worry about how you can manage the servers anymore as it will be covered under the management plan and proactive monthly tweaks will take care of your servers. Cpanel Server Management Support provides proactive cpanel server support and set up your cpanel server.

Connect with us to our 24×7 Live chat to get technical assistance on your server related queries at https://hostechsupport.com or you can simply shoot an email to support@hostechsupport.com

Cpanel Server Management – Direct Admin Services:

  1. Initial Server installation & configuration management
  2. Let’s Encrypt / SSL installation and configuration
  3. SMTP/POP/IMAP (Exim + Courier-IMAP/dovecot) server configure and optimization
  4. FTP Server setup (pure-ftpd / pro-ftpd).
  5. Google Apps Setup (DNS)
  6. Optimize and secure Apache (HTTP) server
  7. Software installations.
  8. Increase memory efficiency
  9. Hard disk performance tweaking
  10. MySQL database server optimization
  11. Backup Configuration and Audit Backup
  12. Secure SSH
  13. Anti-malware & anti-Virus installation
  14. Brute force detection Installation
  15. Control access to services by IP Address
  16. Monitor WHM server
  17. Secure Apache
  18. Mod Security Installation
  19. Kernel Patching.
  20. Schedule malware and virus scanning
  21. Restrict system’s compilers
  22. Install and configure csf a firewall
  23. Regular server updates

Find out more: https://www.hostechsupport.com or directly connect to our 24×7 Live chat support for our Support services.

HostechSupport
Linux/Windows Server Administration
Server Management, Server Optimization, Server Monitoring, Server Migration
Cpanel Server Management, Cpanel Direct Admin
Apache Configuration, Apache Installations, and Upgrdation
Ngnix Installation and Upgrades

How to set up Private name servers in WHM

1. Sign in to your server’s WHM interface and discover the route area on the left called Basic cPanel and WHM Setup, under Server Configuration. This is the primary thing on the left route bar.

2. When you stack this screen interestingly you may see that two nameservers, utilizing a similar space name as the server’s hostname, are as of now set up. Supplant those name servers with your coveted name servers and include the IP.

3. Tap on Assign IP address and Add an A section for Each name servers .Presently you are prepared to enlist your name servers at your site recorder end.

How to Add multiple IPs to the server with WHM

1. Login to cPanel Webhost Manager (WHM) on the server.

2. On the left side board, explore the IP Functions menu, and afterward, tap on Add a New IP Address interface.

3. Enter the IP address in the IP(s) to include field. In spite of the fact that the connection says An IP Address, you can without much of a stretch present various or more than one IP delivers to the server on the double. For more than 1 IP address, indicate in Class C CIDR arrange or 192.168.0.1-254 organization. For instance, 192.168.4.128/25, 192.168.3.5-10, 192.168.99.55-230.

4. Adjust the subnet cover default estimation of 255.255.255.0 to the legitimate an incentive for the IP address(s) in the Subnet Mask field, if required. Typically this esteem will be given by your facilitating supplier.

5. Tap on Submit catch

How To Install eAccelerator In Cpanel

eAccelerator is a PHP quickening agent and streamlining agent. It enhances execution by re-utilizing assembled PHP scripts and streamlining them to accelerate their execution.

With a specific end goal to have it introduced you will require a committed server condition since it requires worldwide server changes. In cPanel its establishment is simple and quick after these two stages:

1. Ensure PHP keeps running as DSO Apache module. For this reason, sign into your cPanel server WHM and go to ‘Design PHP and SuExec’. There ensure that the PHP 5 Handler is set to dso. 2. Next, sign in as root by ssh and issue the accompanying summon:

/scripts/phpextensionmgr install EAccelerator

With the above basic and simple strides, your PHP (site all in all) execution ought to be impressively enhanced with the assistance of eAccelerator.

Install Firewall on a cPanel Server

First, you would need to login as root via ssh, then as root issue the following commands:

wget http://www.configserver.com/free/csf.tgz
tar zxfv csf.tgz
cd csf
./install.cPanel.sh

Now the CSF establishment is finished and the arrangement document should suit your necessities, to alter the CSF setup issue this summons:

pico /etc/csf/csf.conf

Set the TESTING variable to 1 instead of and make sure that the MONOLITHIC_KERNEL variable is set to 1 this is important for OpenVZ VPS servers You may open/filter incoming and outgoing ports by editing the TCP_IN and TCP_OUT variables. Save your configuration by pressing CTRL + x, when asked press “y” then press the enter key

Now start CSF by issuing:

/etc/init.d/csf start

How to Install Zend Optimizer with cPanel.

Zend Optimizer is a PHP addon which offers storing to enhance speed when stacking destinations; it can build execution by up to 40% by reserving as often as possible saw segments of PHP pages. Zend Guard likewise is helpful for encoding PHP documents to secure source code.

Here’s the manner by which to introduce Zend Optimizer:

1.    Login to your server by means of SSH

2.    Run:/scripts/installzendopt

3.    Take after the directions on the screen to introduce Zend Optimizer

How to Rebuild Apache in cPanel

Log in as the root using ssh to your server

Type the following commands:
# cd /scripts
# ./updatenow
# ./easyapache

Simply take after on screen directions to modify Apache for CPanel server under Linux/FreeBSD OSes. If you don’t mind take note of that you should see a menu on the screen asking you which alternative you might want to be incorporated with your Apache introduce. Select alternatives according to your prerequisites. When it has finished it will naturally restart Apache for you and you will then have the capacity to utilize the new components.

How can I create Auto-responders for my email address through CPanel

a) Login to your site CPanel

b) Under mail segment scan for Auto Responders and tap on it

c) On the following interface tap on Add Auto Responders

d) Now this is the place you need to make the Auto responders Once you have filled in the data, tap on “Make/Modify:”

e) Now you can affirm that your new Auto responder has been made.